Welcome to your new favorite fat: Ghee!
Ghee is a form of clarified butter, which is just butter without the milk/dairy solids in it. It’s those solids that cause butter to scorch at a high temperature, which is why butter is not your best bet for sautéing or frying at high temperatures. However, with the solids removed, ghee has a higher smoke point even than olive oil and coconut oil, and those high temperatures become your friend again.
And it’s not just for cooking with. You can use ghee in any way you might use butter: spread on bread or toast or melted as a topping for meats or vegetables. Other benefits of ghee I found from internet searches:
- Dairy free: with nearly all of the milk solids (lactose and casein) removed, it can be tolerated by those with lactose intolerance. It’s Paleo friendly as well.
- Shelf stable: with the milk solids and moisture removed, it doesn’t require refrigeration; it won’t turn rancid, like butter can.
- Healthful: contains vitamins A, D, E, and K; may benefit those with colitis or Crohn’s disease; can reduce skin inflammation and treat burns; and may even slow some cancers and heart disease.
The process is pretty much the same for making clarified butter or ghee: melt some butter, strain the liquid to remove the solids, and allow the strained liquid to cool. However, ghee is cooked much longer, until it turns a rich amber color, which lends it a sweet, nutty flavor.
This recipe/method comes from my friend Shamim, who authors a food blog called For the Love of Ghee. She recently gave me a sample of her homemade ghee, and once I tried it, I loved it. I used it for browning vegetables and meats and even made popcorn with it. When I spread it on my morning toast, its nutty flavor won me over. Once my sample dwindled, I visited Shamim’s blog to learn how to make more.
Use any quantity of butter to make as much or as little ghee as desired. Enjoy!
Method
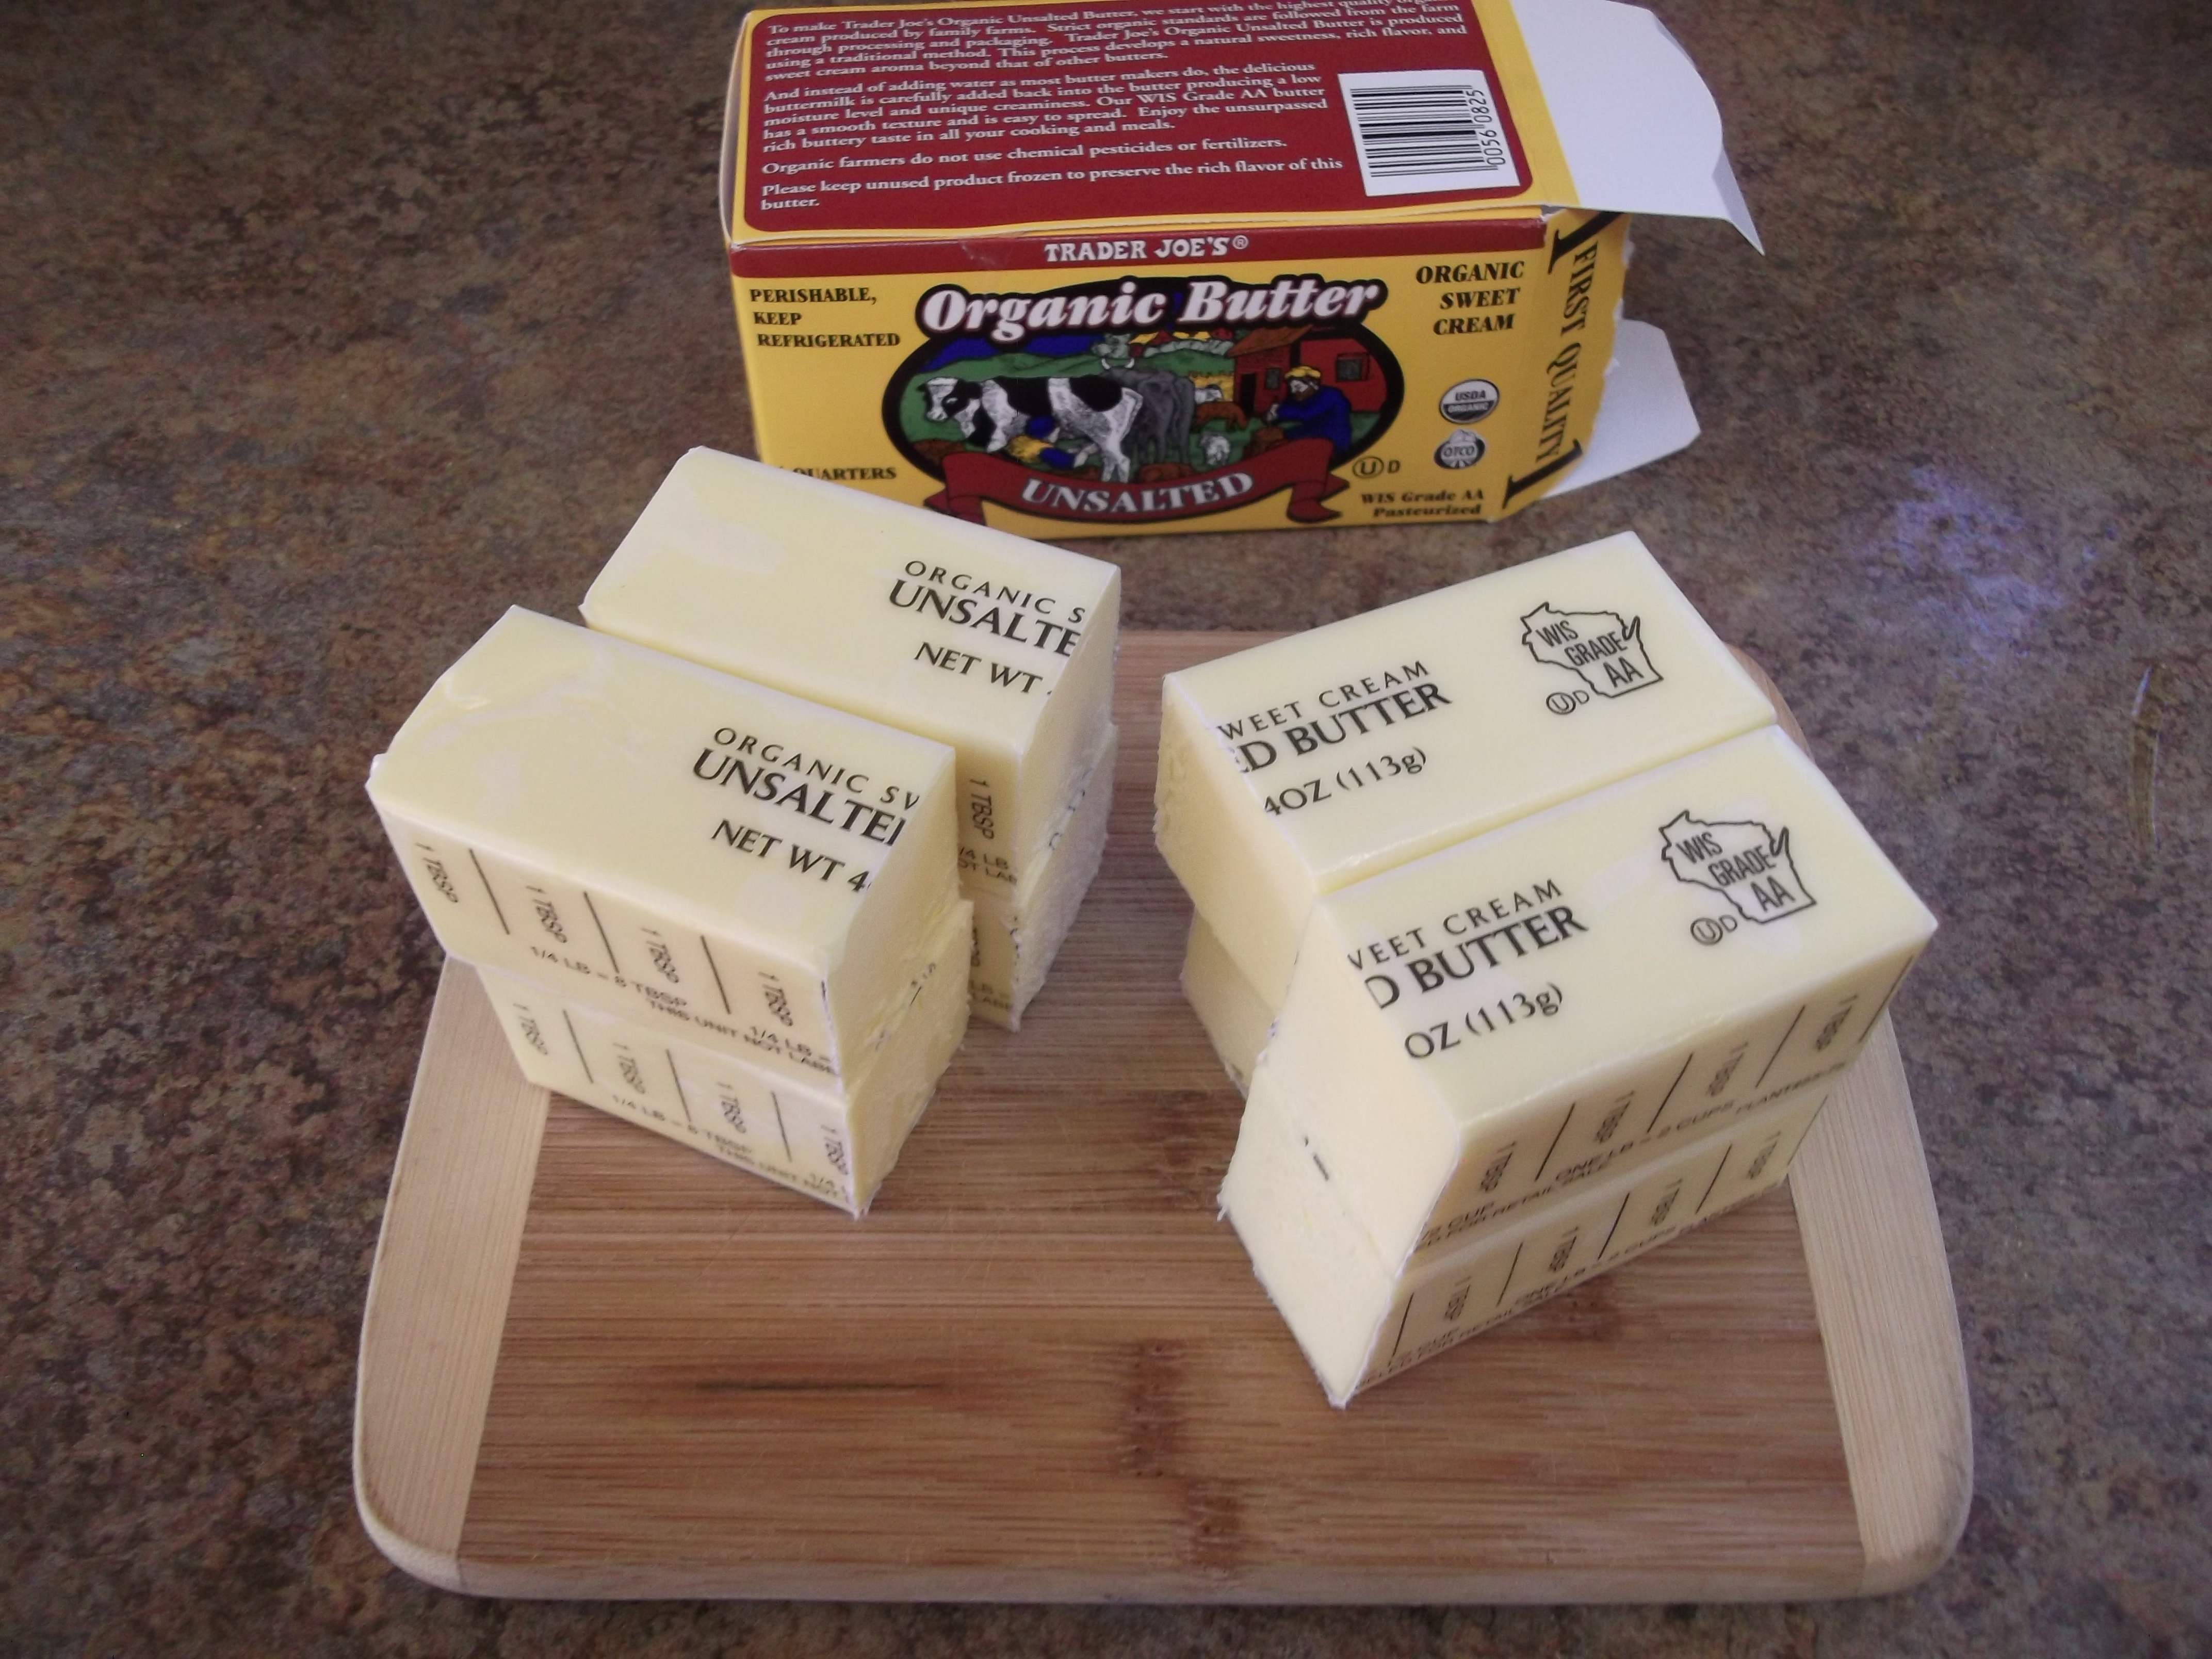
Use any quantity of organic butter, preferably high fat content. For the most health benefits, use butter from grass-fed cows.
1 pound of butter yields just over 8 oz ghee.
Melt the butter in a saucepan over medium heat, stirring occasionally until completely melted. Reduce the heat and bring to a gentle boil.
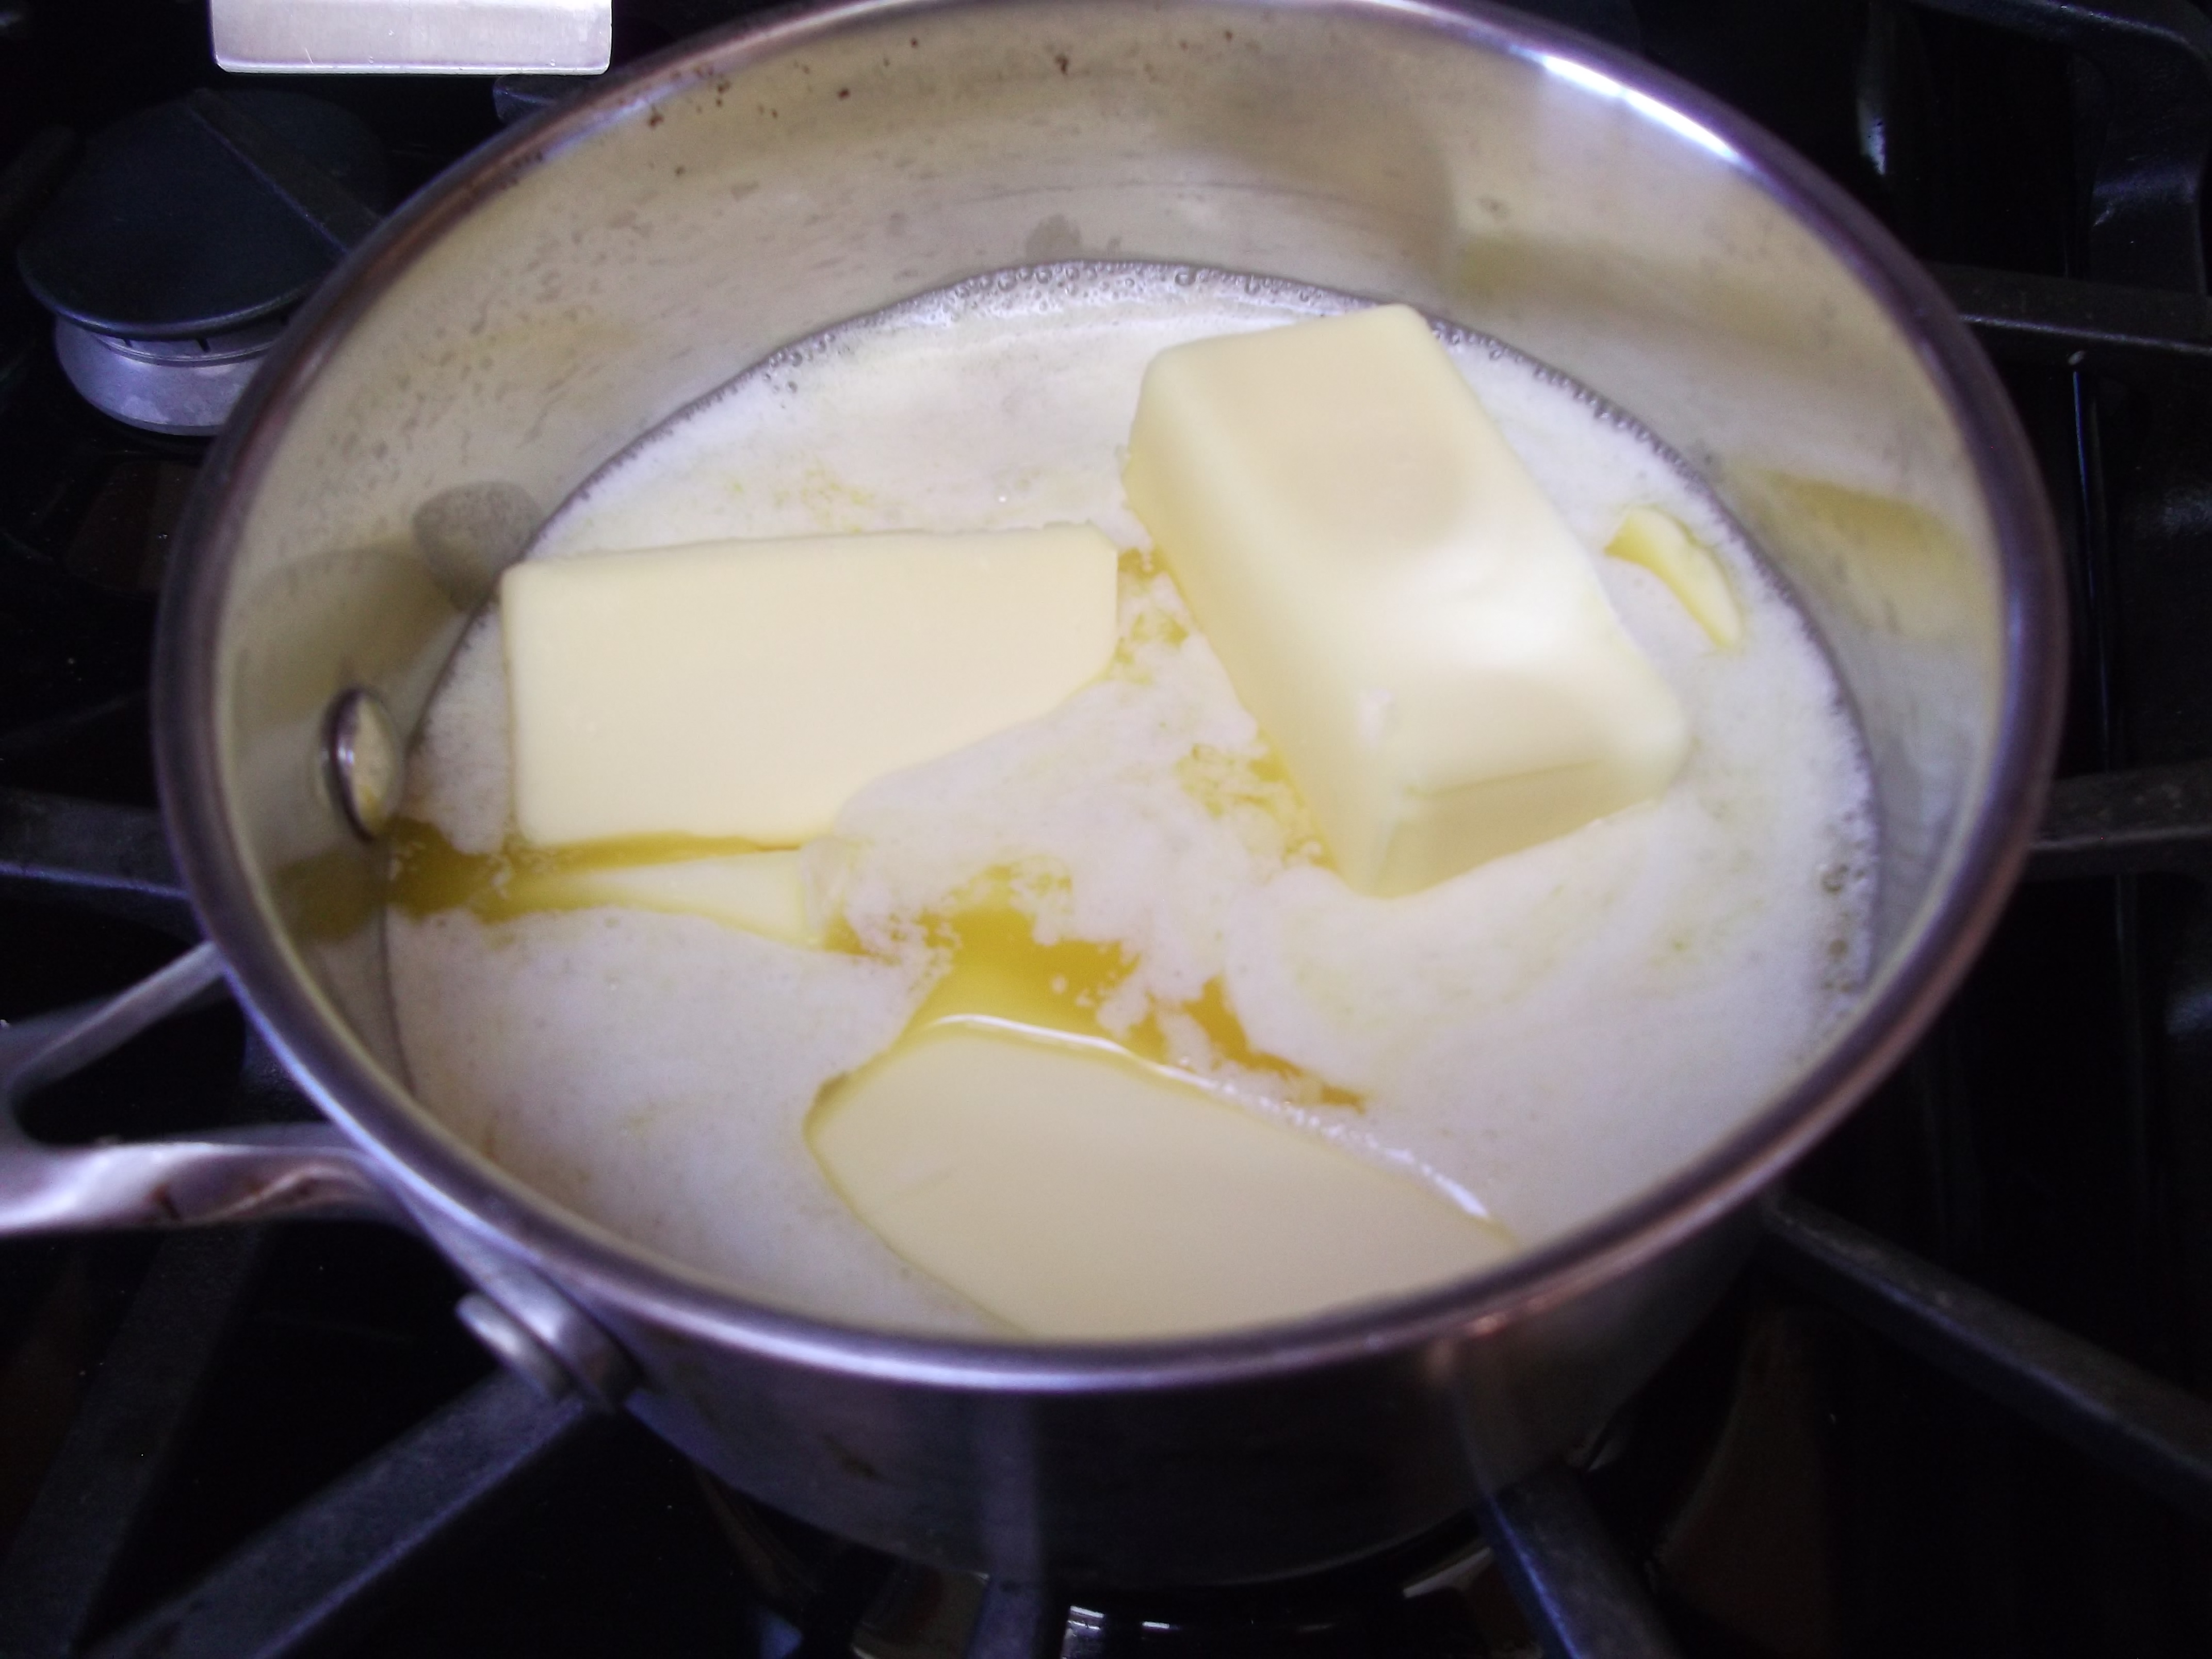
Skim off and discard the foam that appears on top. The foam itself won’t affect the ghee, but with it there, you won’t be able to see the liquid underneath.

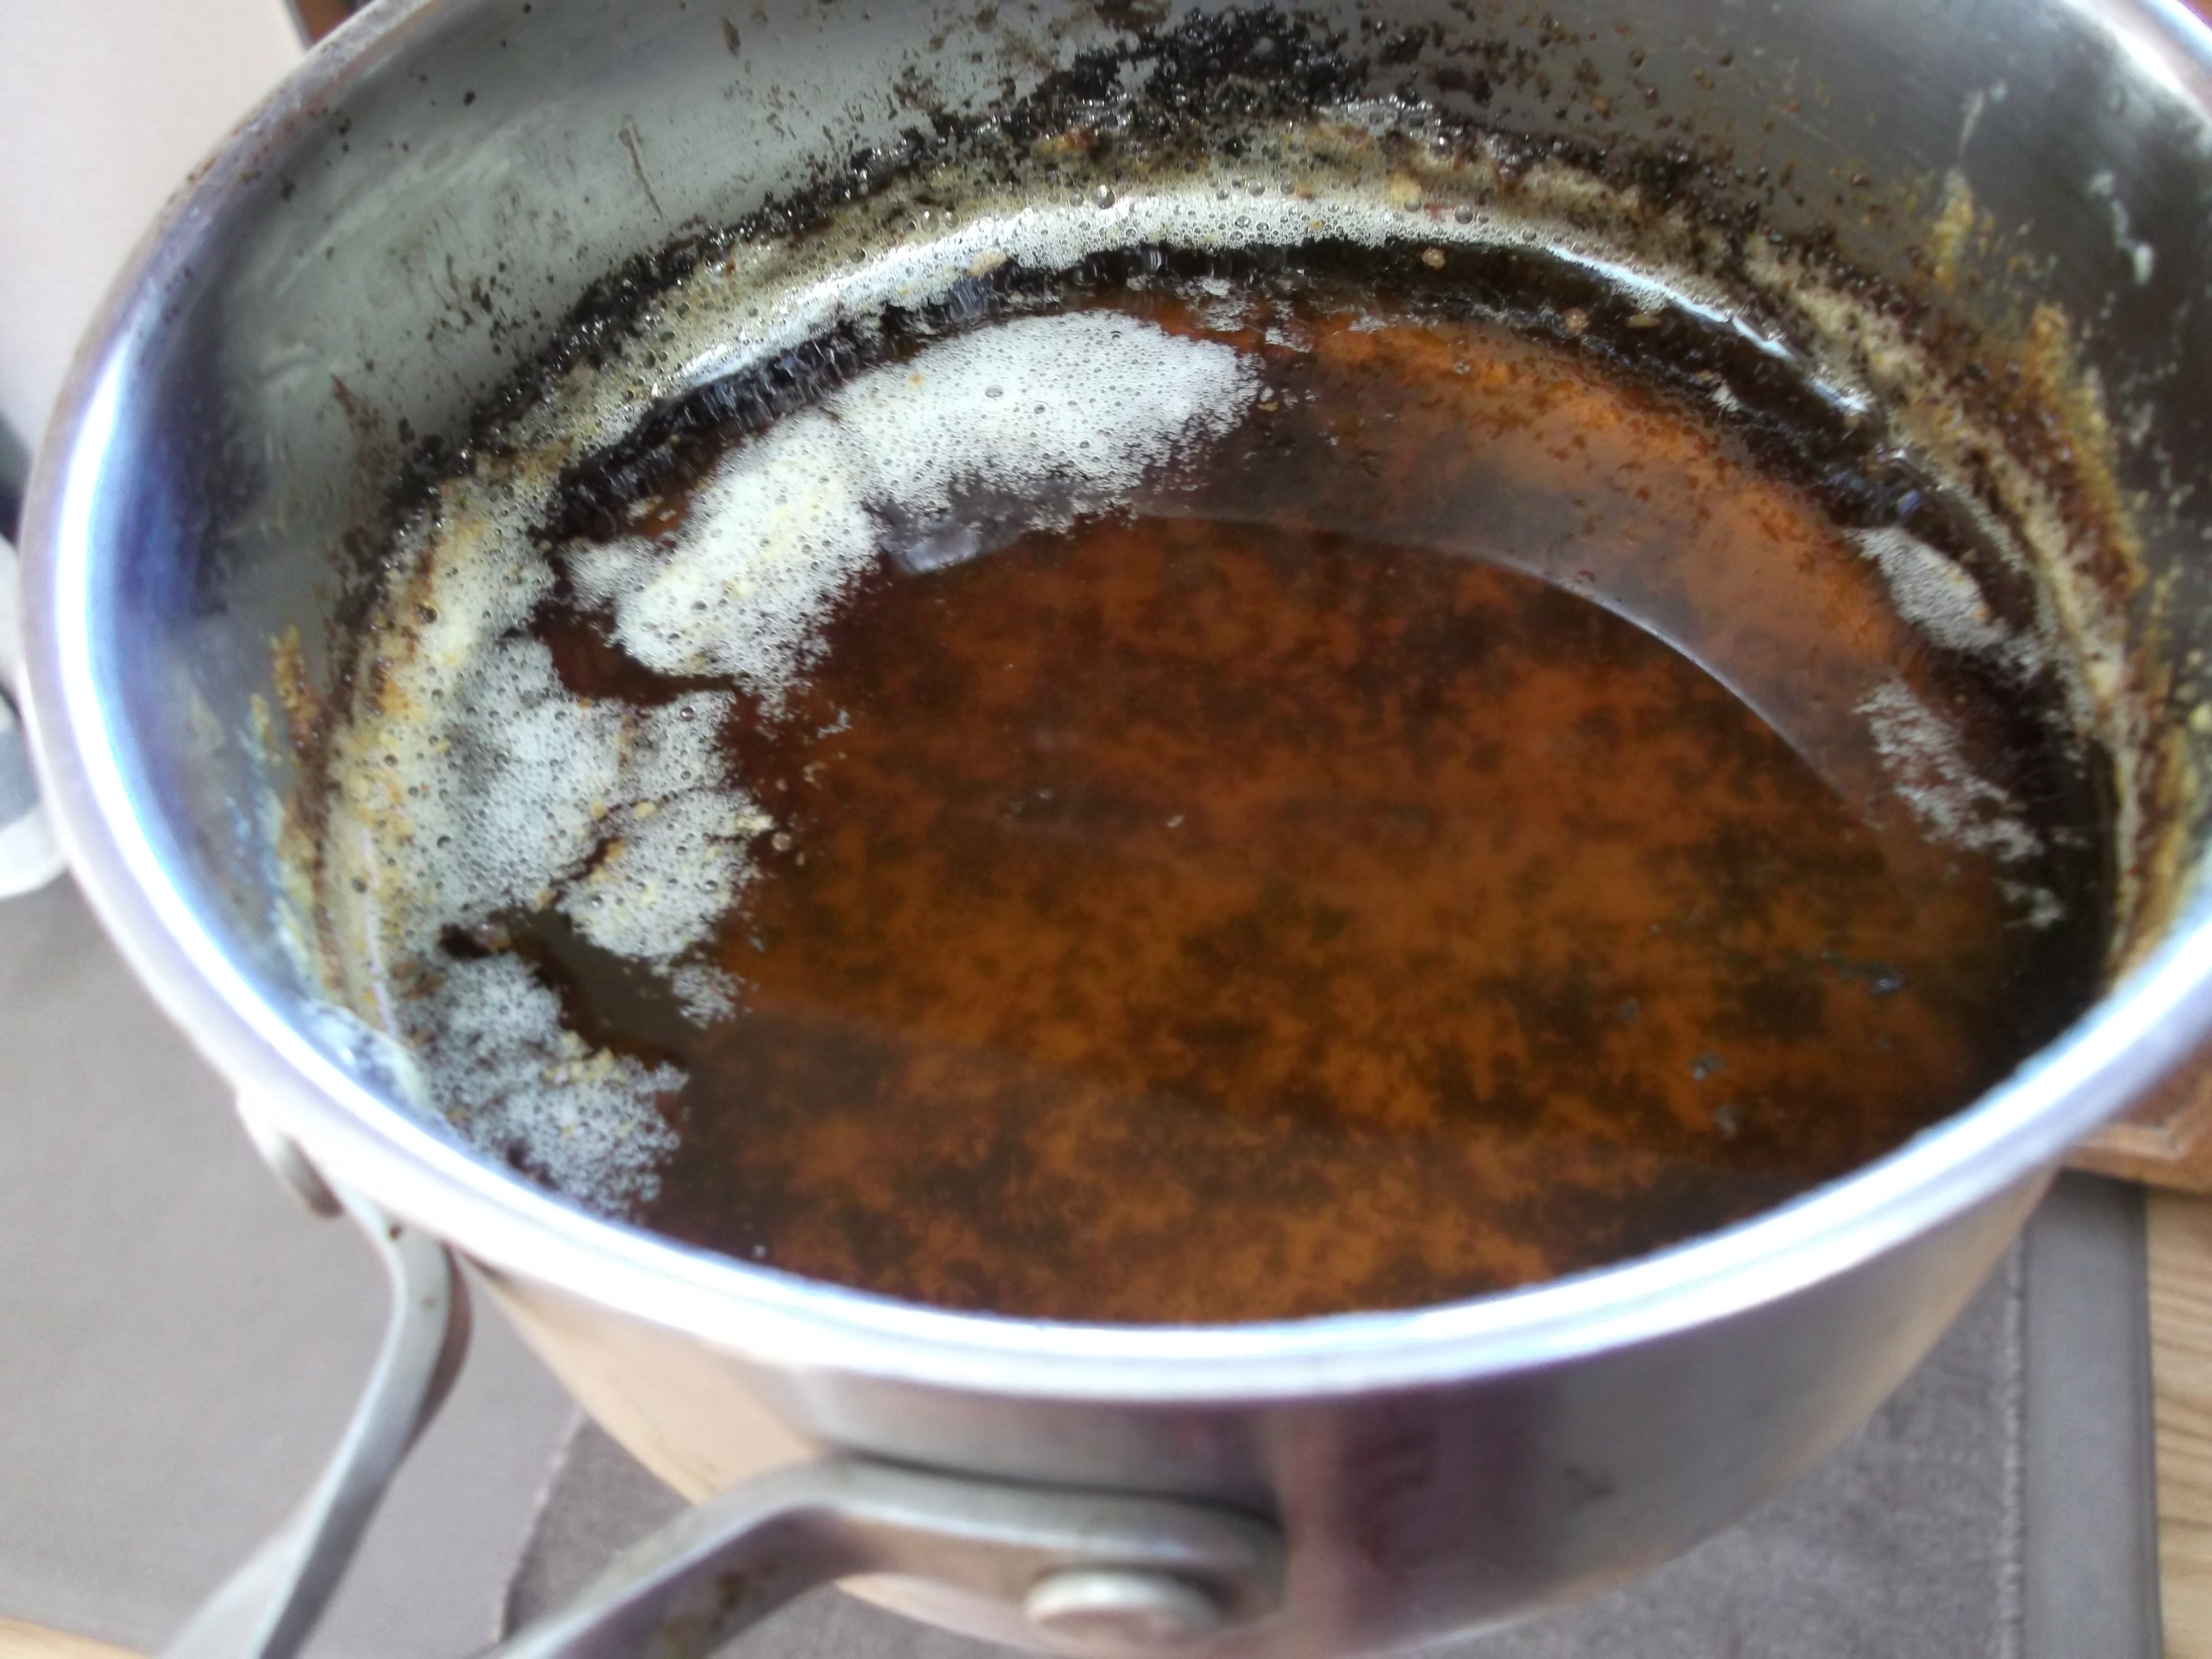
Maintain a gentle boil until the liquid becomes dark amber/orange and is very clear. This may take 10 to 20 minutes. As it simmers, the milk solids from the butter will sink to the bottom of the pan and eventually turn very dark.
Remove the pan from the heat and allow it to cool for about 15 minutes. Line a sieve with a coffee filter and place it over a clean and dry glass jar. Carefully pour the liquid through the sieve into a clean, dry glass jar or other container.
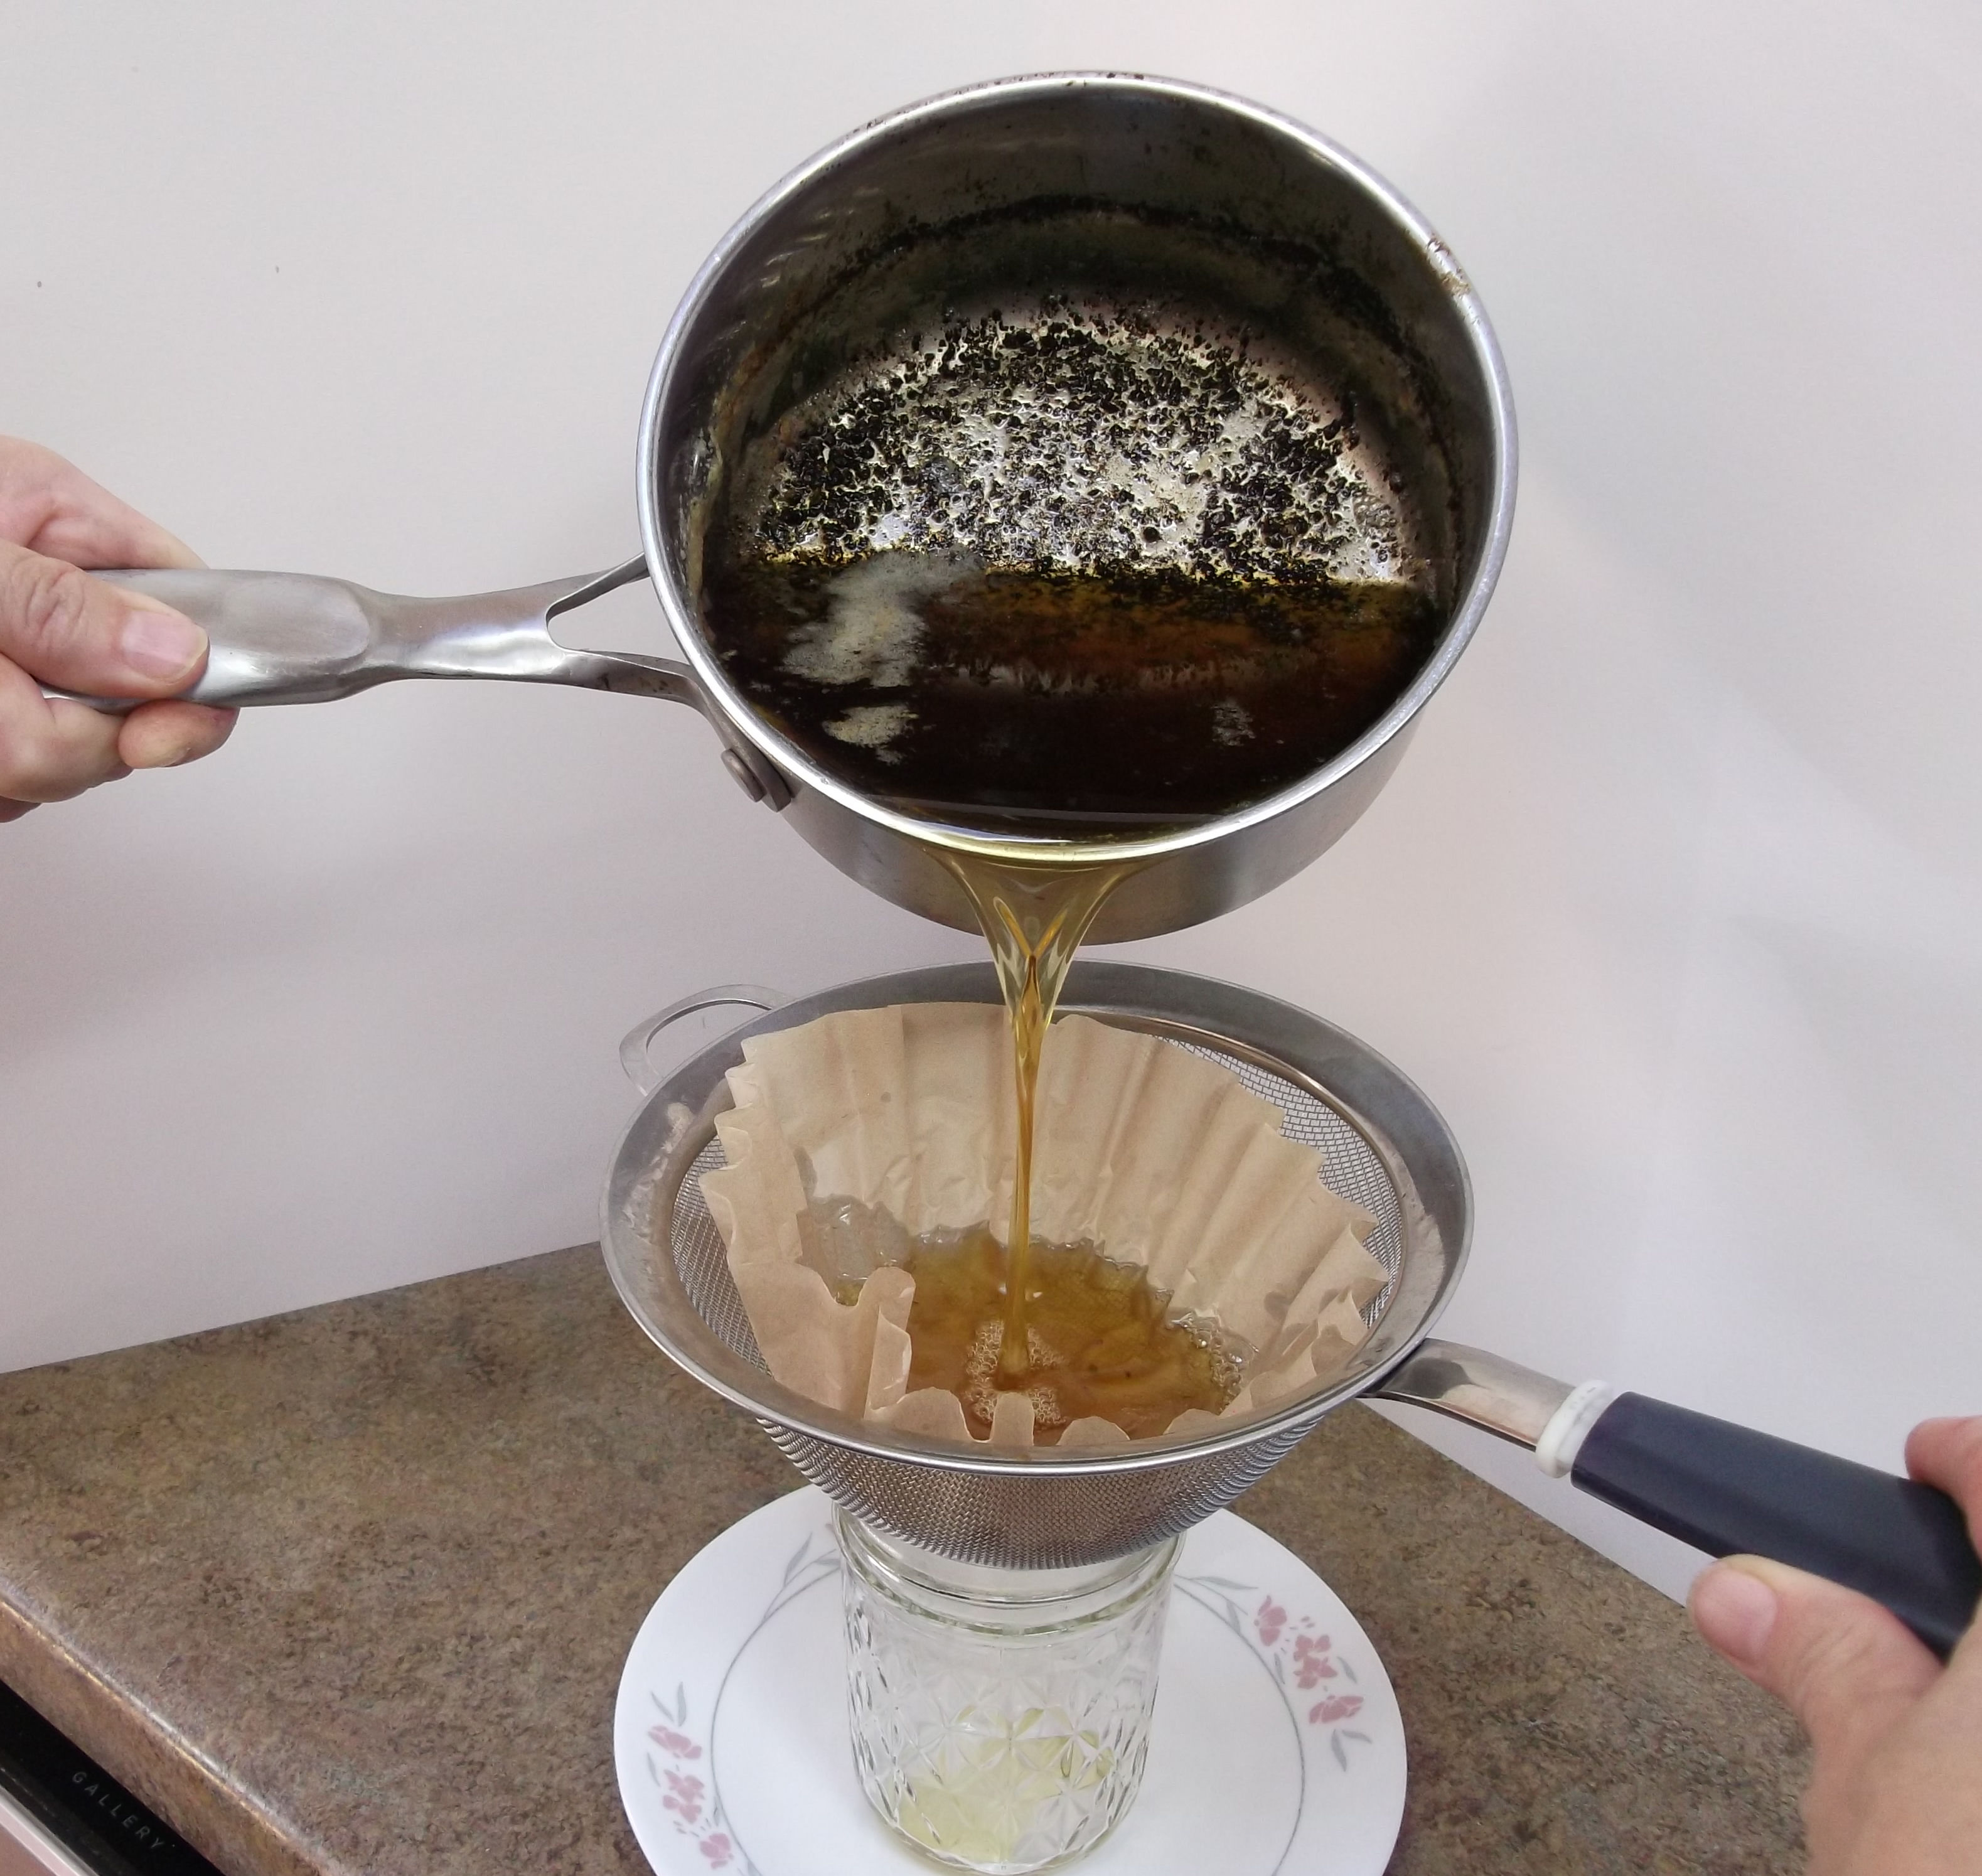
Allow the liquid to cool before putting the lid on the jar.

Once cooled, it will become a light yellow solid.
 Store in a cool, dark cupboard, and it will keep for several months at room temperature. Enjoy!

The Galloping Gourmet always used clarified butter on his show in the 1970’s. He was like Paula Dean when it came to butter. Thanks for the tip.
LikeLiked by 1 person
Hey Diane, this is such a great post. I love the all the info you’ve added about ghee. Great stuff! I’m working on an explanation of ghee and it’s benefits page and I’m sure going to add your link to it (if that’s ok). We need to get together soon … 🙂
LikeLike
Would love to get together, and yes, go ahead and link back to me. Stay warm!
LikeLike